Business owners see their premises every day, which can make signage problems surprisingly difficult to notice. A faded entrance sign, hidden collection point or confusing route may have become familiar to staff, while a first-time customer experiences it as uncertainty.
A simple walkthrough audit helps you view the site from the customer’s perspective. In 30 to 60 minutes, you can identify where signs are missing, poorly positioned, inconsistent or no longer accurate.
The aim is not to replace every sign. It is to find the gaps that affect visibility, navigation, safety and sales, then turn those findings into a practical list of priorities for your team or signage company.
Prepare before the walkthrough
Choose a time that reflects normal customer conditions. If most business takes place during the evening, inspecting only in bright daylight will not reveal problems with illumination. A hospitality venue may benefit from one daytime check and a shorter review after dark.
Bring a phone for photographs and video, along with a notebook or simple spreadsheet. Record the location, problem and possible action for every issue.
Invite someone who does not work closely with the site if possible. A new employee, regular supplier or colleague from another branch may notice things that established staff overlook.
Print a basic site plan or sketch the customer journey. Mark the main approach routes, entrances, reception points, sales areas, toilets, collections and exits. This becomes the framework for the audit.
Step one: approach as a first-time visitor
Begin away from the premises rather than at the front door. Walk or drive towards the site using the route a customer is most likely to follow.
Ask when the business first becomes visible. Can you identify it from the opposite side of the road, a car park entrance or the end of the street? Trees, parked vehicles, street furniture and neighbouring signs may obstruct the view.
Check whether the main name is legible at the distance and speed of approach. Fine lettering or low contrast may work in a design proof but disappear in the real environment.
Take photographs from several angles. A sign can look clear when viewed directly but become ineffective for people approaching from the side.
Record whether customers need an earlier directional sign, a projecting sign or stronger identification at the boundary.
Step two: inspect the arrival point
Move to the car park, forecourt or immediate area outside the building. Is it obvious where visitors should go next?
Multi-entrance sites often create uncertainty. Customers may find a staff entrance, goods-in door or closed access point before the correct reception. Signs should distinguish these routes without forcing visitors to read long instructions.
Review parking signs, accessible bays, pedestrian routes and collection areas. Temporary notices taped to doors may indicate that the permanent system no longer reflects how the site operates.
Look for conflicting messages. An old arrow left in place after a layout change can be more damaging than having no sign because it directs customers confidently towards the wrong location.
This stage should answer a simple question: after arriving, can someone reach the correct entrance without asking for help?
Step three: stand outside the entrance
Pause where a visitor would stop before entering. The doorway should provide reassurance that they have reached the right business.
Check the condition of the principal business signs. Look for fading, damaged graphics, failed illumination, loose fixings and dirt. Even small defects can undermine the sense that the premises are well maintained.
Opening hours and access information should be current and easy to read. If customers need to ring a bell, wait for assistance or use another entrance, instructions must be visible before they try the door.
Consider what can be seen through the windows. Promotional graphics should support the entrance rather than obscure it. Too many posters, stickers and notices can make important information difficult to find.
Photograph the entrance from normal standing height and from further away. This will reveal whether the visual hierarchy works as intended.
Step four: follow the internal journey
Enter the building and move through it without relying on your existing knowledge. At every decision point, stop and ask whether the next destination is obvious.
Reception areas should identify where to wait and who can help. In retail or hospitality settings, customers may need to locate ordering points, fitting rooms, menus, collections or toilets. Offices and healthcare settings may require clear routes to departments, rooms or floors.
Effective directional signage appears before a person must make a choice. An arrow positioned after a junction is too late.
Check that names remain consistent. If the website calls an area “Click and Collect” but the internal sign says “Order Retrieval”, visitors may not realise they mean the same thing.
Note where customers regularly ask staff for directions. Repeated questions are strong evidence that a sign is missing, unclear or badly positioned.
Step five: examine the sales environment
Signage should not only help people navigate; it should support buying decisions.
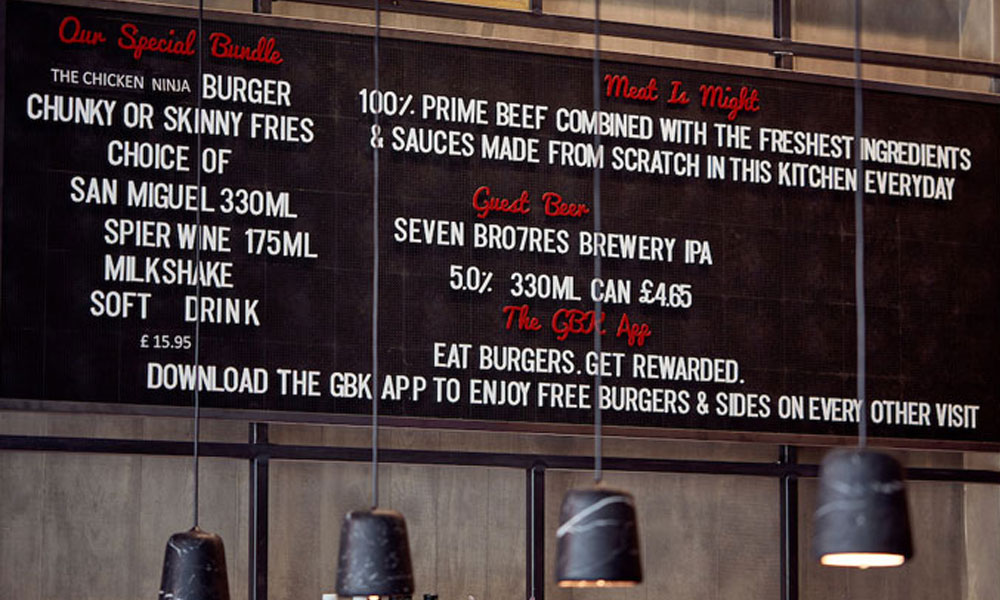
Review menus, pricing panels, product categories and promotional displays. Can customers understand the main offer quickly? Are prices visible before they reach the counter? Do temporary promotions cover important permanent information?
Look for areas where customers hesitate. In a shop, this might happen when product categories are unclear. In a café, it may occur when people cannot distinguish between ordering and collection queues.
Business signs should create hierarchy. The brand identifies the space, directional information guides movement, and promotional messages highlight selected offers. If everything is equally large and brightly coloured, nothing receives attention.
Remove expired posters and duplicated messages. Reducing clutter may improve performance before any new signage is manufactured.
Step six: check accessibility and readability
View each important sign from the position and distance at which it will be used. Consider whether lettering is large enough, contrast is strong and lighting remains even.
Glossy materials may create reflections, while low-mounted notices can disappear behind furniture or queues. Signs placed too high may be difficult to read at close range.
Think about visitors with different needs and heights, including wheelchair users. Where tactile information, Braille or specific safety provisions may be required, obtain advice from an appropriately experienced professional.
Use plain language wherever possible. Short, familiar descriptions are easier to understand than internal terminology.
Accessibility should be built into the main system rather than treated as a separate collection of additions.
Step seven: inspect the exit journey
The customer experience continues after a purchase, appointment or visit. Follow the route towards the exit, car park or public transport connection.
Check whether exits are easy to locate and whether customers can return to the correct part of a large car park. Hotels, leisure venues and multi-storey buildings may require reassurance signs along longer routes.
This is also a useful place for carefully chosen messages. A thank-you sign, review invitation or reminder about another service can support future business without delaying the customer.
Avoid placing important sales messages where they compete with essential exit or safety information.
Step eight: review condition and consistency
Finish by comparing the signs across the entire site. Are logos, colours, typefaces and naming conventions consistent?
Signs installed at different times often reveal gradual brand drift. One department may use an old logo while temporary graphics introduce unrelated colours and fonts.
Record the condition of frames, posts, brackets, panels and lighting as well as the graphics. Some structures may be suitable for refurbishment or new faces, reducing the need for complete replacement.
Group repeated issues together. Updating several signs as one coordinated project can produce a more consistent result and may be more efficient than arranging individual repairs.
Turn observations into priorities
Sort the findings into three categories.
Urgent items include safety concerns, inaccurate information, damaged fixings and signs that send customers to the wrong place. Address these first.
High-impact improvements include poor external visibility, an unclear entrance, repeated wayfinding questions and pricing information that obstructs sales. These may offer the strongest commercial return.
Longer-term upgrades cover visual consistency, premium materials, illumination and integration with future refurbishments.
Add an estimated timescale, responsible person and budget range to each action. Photographs and location notes will help a signage company understand the issue and prepare suitable recommendations.
Repeat the process as the site changes
A signage audit should not be a one-off exercise. Repeat it after a refurbishment, operational change or new customer route, and include shorter checks for damage and outdated information throughout the year.
The most effective audit is completed through the eyes of someone unfamiliar with the building. By approaching, entering, navigating, buying and leaving as a customer would, businesses can uncover problems hidden by routine.
A focused 30-to-60-minute walkthrough creates a clear foundation for better business signs. It turns vague concerns into prioritised actions, helping customers find the premises, move confidently and reach the information that supports a sale.